If your walls are looking a bit dreary but you’re not ready to break out the paint cans, you’re in luck! With these 12 clever wall cleaning hacks, you can give your home a fresh, tidy feel without the hassle of repainting. From simple DIY solutions you probably have at home to easy maintenance tips, each hack is designed to tackle common wall stains and marks. There’s no need for major renovations when you can bring back that spotless shine with a few handy tricks. Let’s jump into these easy solutions that will keep your walls looking pristine!
1. Natural Remedies For Everyday Wall Smudges

Keeping your walls clean doesn’t have to be a chore. With a few natural ingredients, you can tackle everyday smudges easily. The image shows a collection of common cleaning items: vinegar, lemon, and baking soda. These ingredients are not only effective but also safe for your home.
Lemon is a fantastic natural cleaner. Its acidity helps break down grime and leaves a fresh scent. Just mix lemon juice with some water and apply it to the smudged area. Wipe it off with a soft cloth for a sparkling finish.
Vinegar is another powerhouse. It cuts through dirt and grease effortlessly. Combine equal parts of vinegar and water in a spray bottle. Spray it on the walls and wipe with a microfiber cloth. This method works wonders on fingerprints and food splatters.
Baking soda is great for tougher stains. Make a paste with water and gently scrub the area with a sponge. Rinse with a damp cloth afterward. This technique is perfect for removing stubborn marks without damaging the paint.
For maintenance, regularly dust your walls to prevent build-up. A simple microfiber cloth can do the trick. Keeping your walls clean not only enhances your home’s appearance but also creates a healthier environment.
2. The Power Of Microfiber Cloths For Dust Removal
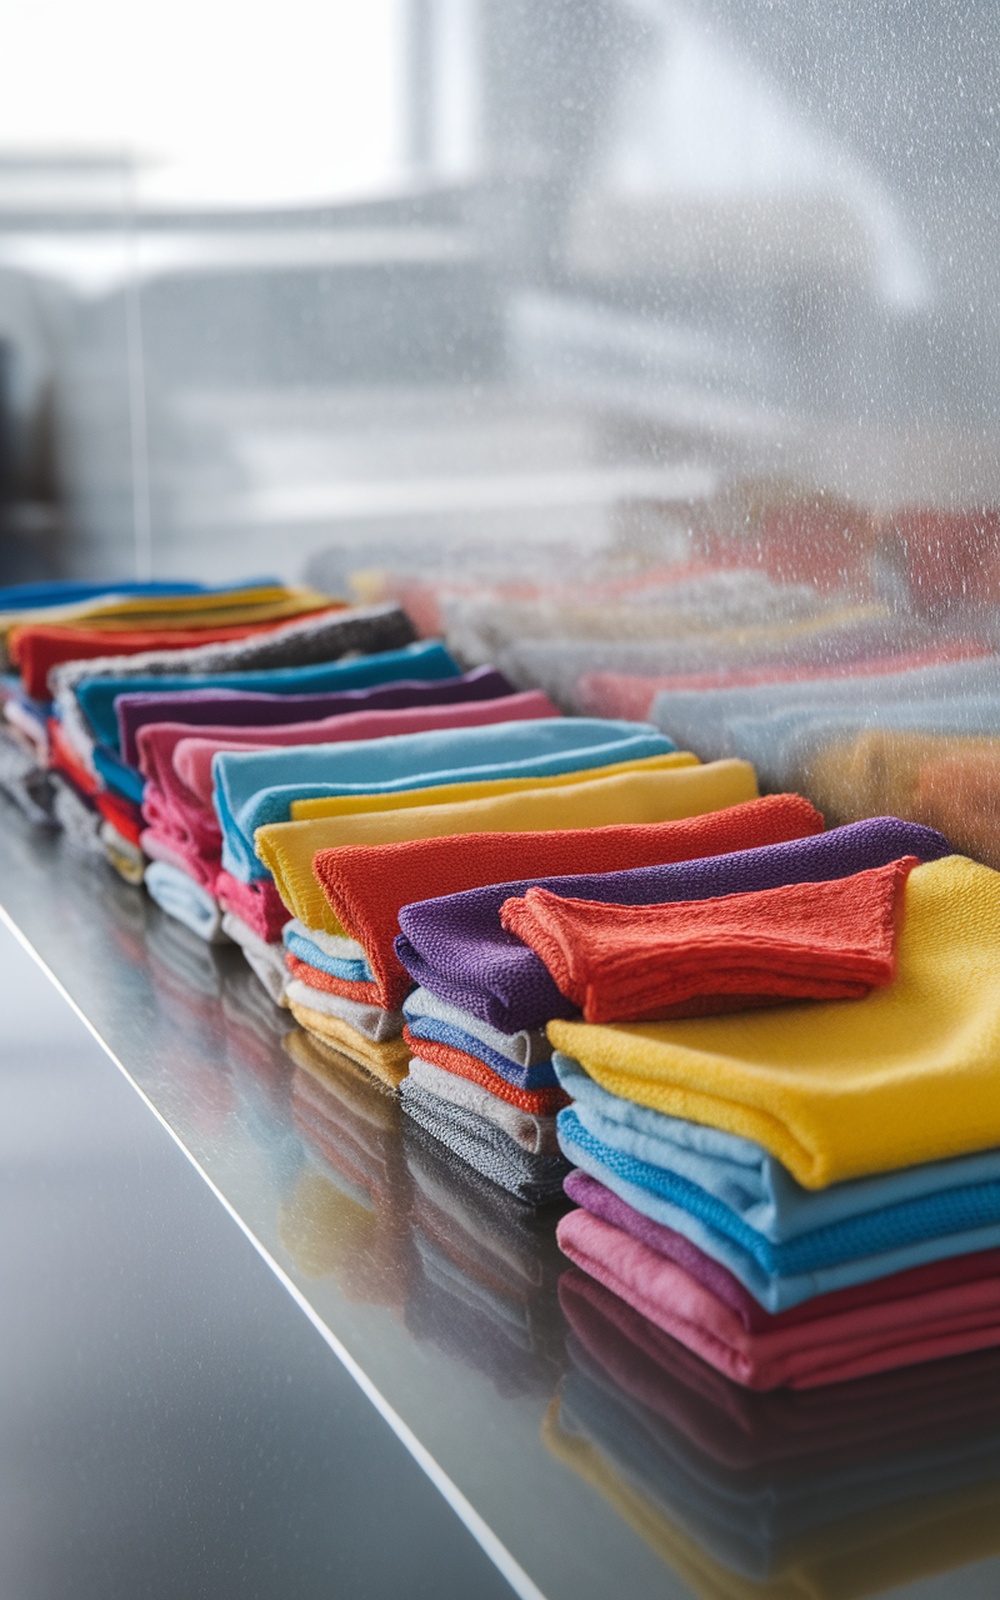
Microfiber cloths are a fantastic tool for keeping your walls dust-free. The image shows a vibrant collection of these cloths, neatly stacked and ready for action. Their soft texture and unique fibers trap dust and dirt effectively, making them perfect for wall cleaning. Unlike traditional cloths, microfiber can pick up particles without scratching the surface. This is especially important for painted walls, where scratches can lead to costly repairs.
When using microfiber cloths, it’s best to start dry. This allows the fibers to attract dust like a magnet. Simply wipe the walls in a circular motion to lift away dirt. For tougher spots, slightly dampen the cloth with water or a mild cleaner. Just be careful not to soak the cloth, as excess moisture can damage paint.
To maintain the effectiveness of your microfiber cloths, wash them regularly. Avoid using fabric softeners, as they can coat the fibers and reduce their dust-trapping ability. Instead, wash them in hot water with a gentle detergent. Hang them to dry, and they’ll be ready for your next cleaning session.
Another tip is to assign different colors of cloths for specific areas. For example, use one color for the kitchen and another for the living room. This helps prevent cross-contamination and keeps your cleaning routine organized. With these simple steps, you’ll find that microfiber cloths are an essential part of your wall cleaning strategy.
3. Effective Techniques For Tackling Scuff Marks
Scuff marks on walls can be a real eyesore, but they don’t have to stay there. The image shows a hand using a sponge to scrub away a stubborn mark. This simple action can make a huge difference in the overall look of your space. With just a few supplies, you can tackle those marks and keep your walls looking fresh.
Start by gathering your cleaning supplies. You’ll need a sponge, a bucket of warm water, and a gentle cleaner. A mixture of dish soap and water works wonders for most marks. Dampen the sponge with the solution and gently scrub the scuff mark in a circular motion. This technique helps lift the dirt without damaging the paint.
For tougher marks, you might want to try a magic eraser. These handy tools can be a game changer. Just wet the eraser slightly and rub it over the mark. You’ll see it start to disappear almost instantly. Always test a small area first to ensure it doesn’t affect your wall’s finish.
After you’ve removed the mark, rinse the area with clean water to remove any soap residue. This step is crucial to avoid leaving a new stain behind. Once it’s dry, you can admire your hard work. Regular maintenance can help prevent scuff marks from becoming a bigger issue, so keep your cleaning supplies handy for quick touch-ups.
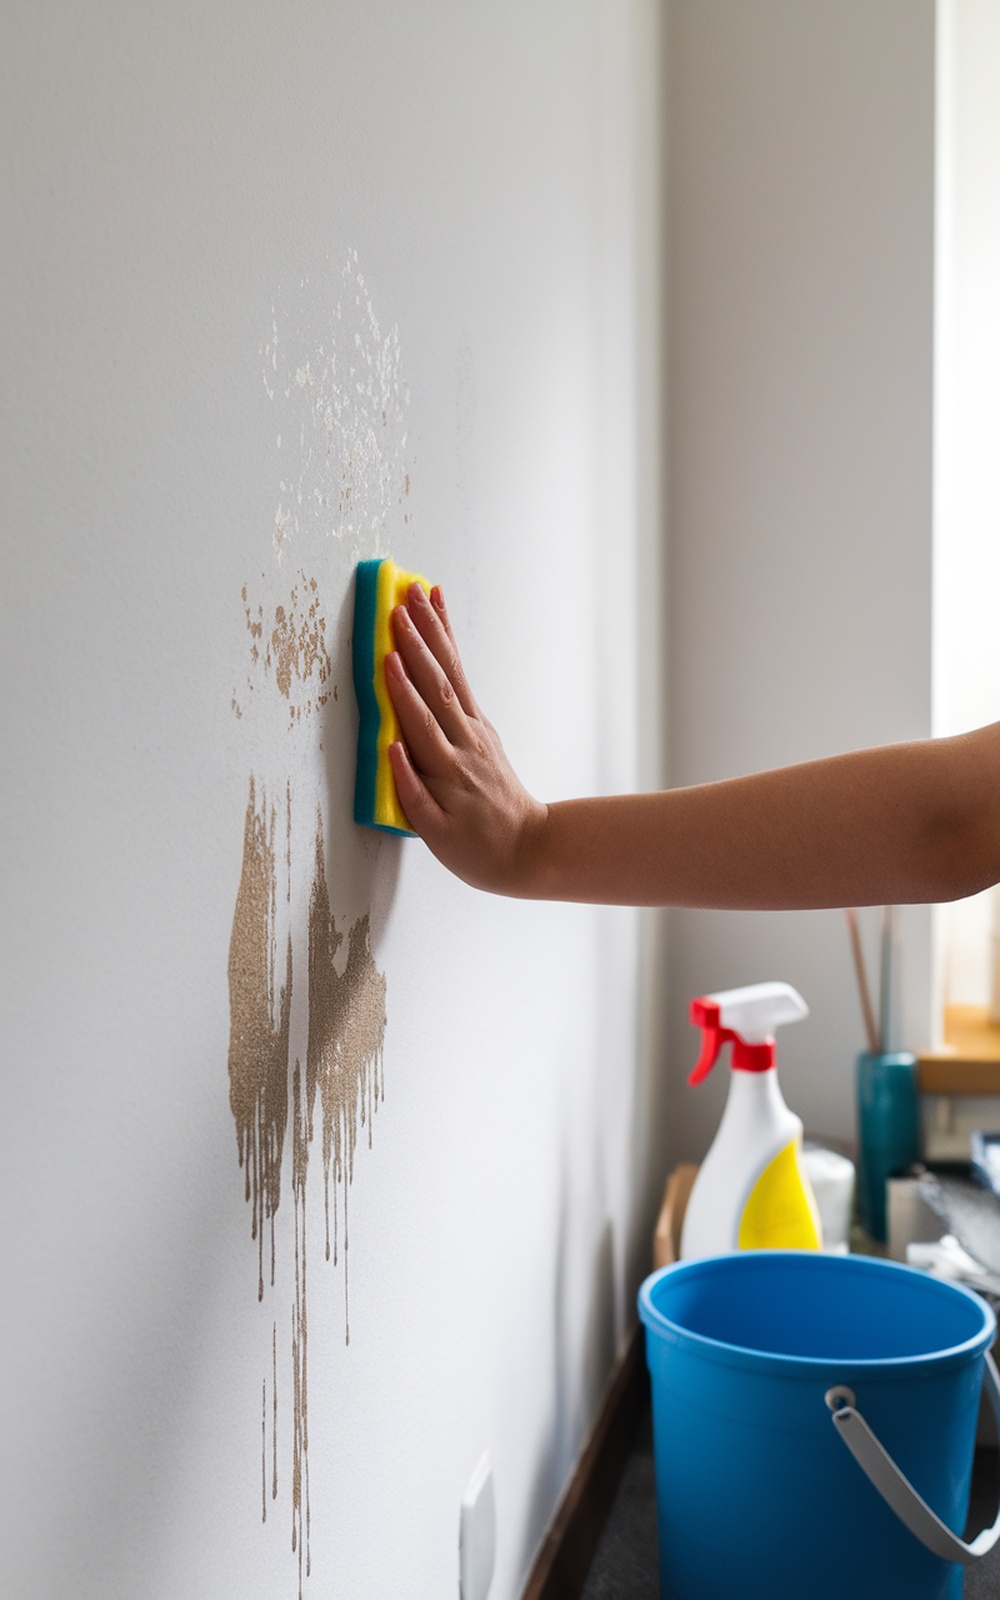
4. Using Baking Soda To Erase Stains Effortlessly
Baking soda is a fantastic tool for tackling wall stains. In the image, we see someone diligently scrubbing a wall, showcasing the effort involved in cleaning. The person is equipped with a sponge and wearing gloves, indicating they are ready to take on tough marks. The wall has noticeable stains, which can be common in homes, especially in high-traffic areas.
To use baking soda effectively, start by mixing it with a little water to form a paste. Apply this paste to the stained area and let it sit for a few minutes. Then, gently scrub with a sponge or cloth. The mild abrasiveness of baking soda helps lift dirt without damaging the paint. This method is simple and safe for most wall types.
After scrubbing, wipe the area with a clean, damp cloth to remove any residue. You might need to repeat the process for stubborn stains. Keep in mind that regular maintenance can prevent stains from becoming too ingrained. A quick wipe-down with a damp cloth every few weeks can keep your walls looking fresh.
Incorporating baking soda into your cleaning routine not only helps with stains but is also an eco-friendly option. It’s inexpensive and versatile, making it a must-have in your cleaning arsenal. So, next time you notice a mark on your wall, remember that baking soda can be your best friend in keeping your home spotless.
5. How To Safely Clean Painted Walls
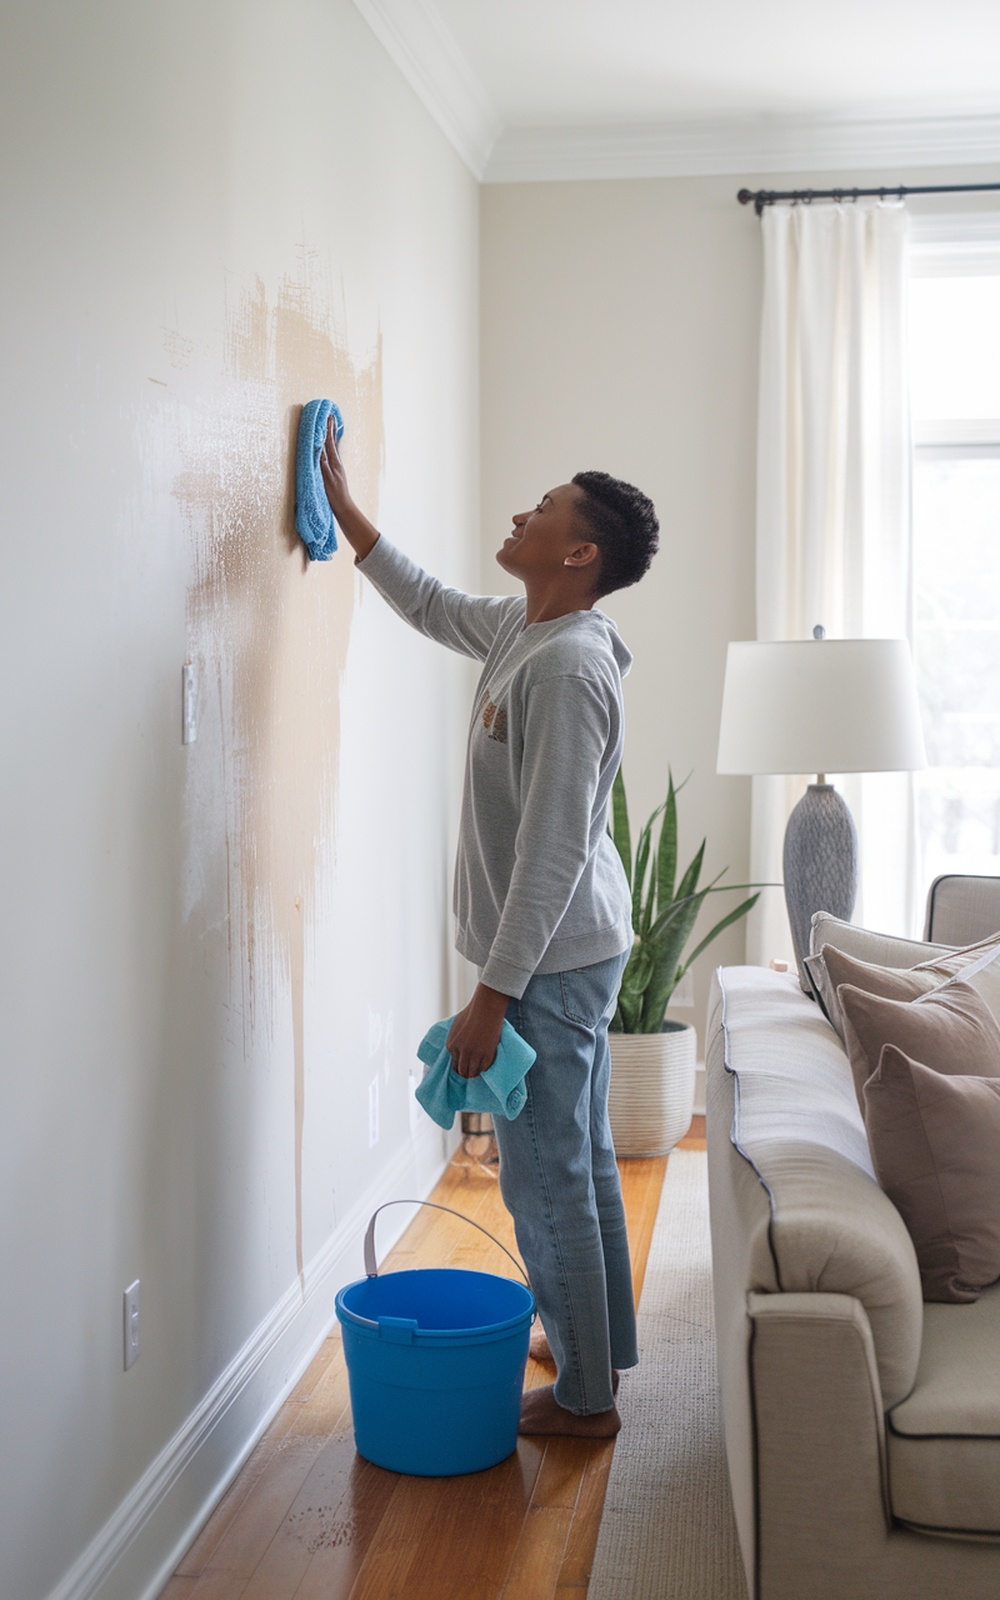
Cleaning painted walls can feel like a chore, but it doesn’t have to be! The image shows someone actively cleaning a wall, which is a great reminder that a little effort can go a long way. You don’t need harsh chemicals or heavy scrubbing to make your walls shine. Instead, focus on gentle methods that preserve the paint while removing dirt and stains.
Start by gathering your supplies. You’ll need a bucket, warm water, a mild dish soap, and soft cloths or sponges. Avoid anything abrasive that could scratch the surface. Mix a few drops of dish soap into the warm water, creating a gentle cleaning solution. This simple mixture is effective for most painted walls.
When you’re ready to clean, dip your cloth into the soapy water and wring it out well. Too much water can damage the paint. Start at the top of the wall and work your way down, using circular motions. This technique helps lift dirt without leaving streaks. If you come across stubborn spots, let the cloth sit on the stain for a minute before wiping.
After cleaning, rinse your cloth in plain water and go over the wall again to remove any soap residue. This step is key to keeping your walls looking fresh. Finally, dry the wall with a clean, dry cloth to prevent any moisture damage. Regular maintenance will keep your walls looking great without the need for repainting.
6. Harnessing Vinegar For A Streak-Free Shine
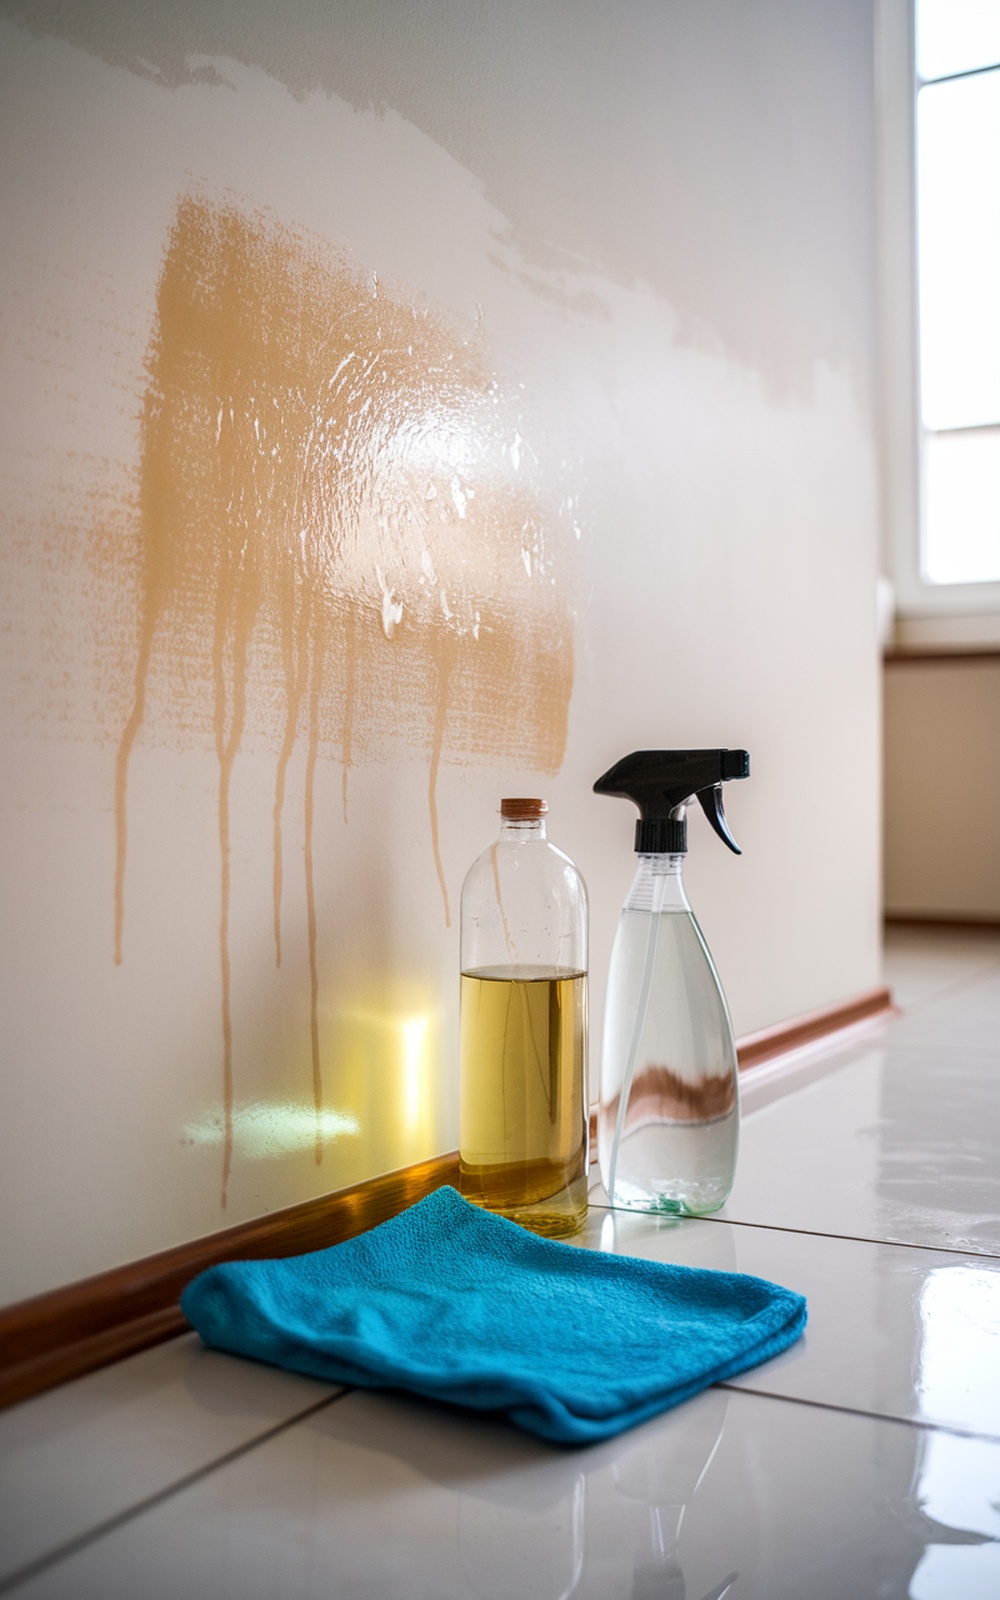
Cleaning walls can feel like a chore, but using vinegar makes it easier and more effective. In the image, you see a bottle of vinegar, a spray bottle filled with water, and a bright blue cloth ready for action. The wall shows signs of previous cleaning attempts, with streaks and drips that need attention. This setup is perfect for achieving that spotless finish without the hassle of repainting.
Vinegar is a natural cleaner that cuts through grime and leaves surfaces sparkling. To use it, mix equal parts vinegar and water in the spray bottle. Spray the solution directly onto the wall, focusing on areas with stains or marks. Let it sit for a minute, then wipe it down with the cloth. This method not only cleans but also helps to eliminate odors.
For tougher stains, you might want to use undiluted vinegar. Just be cautious with painted surfaces, as it can sometimes affect the finish. Always test a small area first. After cleaning, rinse the wall with plain water to remove any vinegar residue. This will help maintain that streak-free shine you’re aiming for.
Regular maintenance is key to keeping your walls looking fresh. A quick wipe down every few months can prevent buildup and keep your home looking its best. Plus, using vinegar is eco-friendly and budget-friendly, making it a win-win for your cleaning routine.
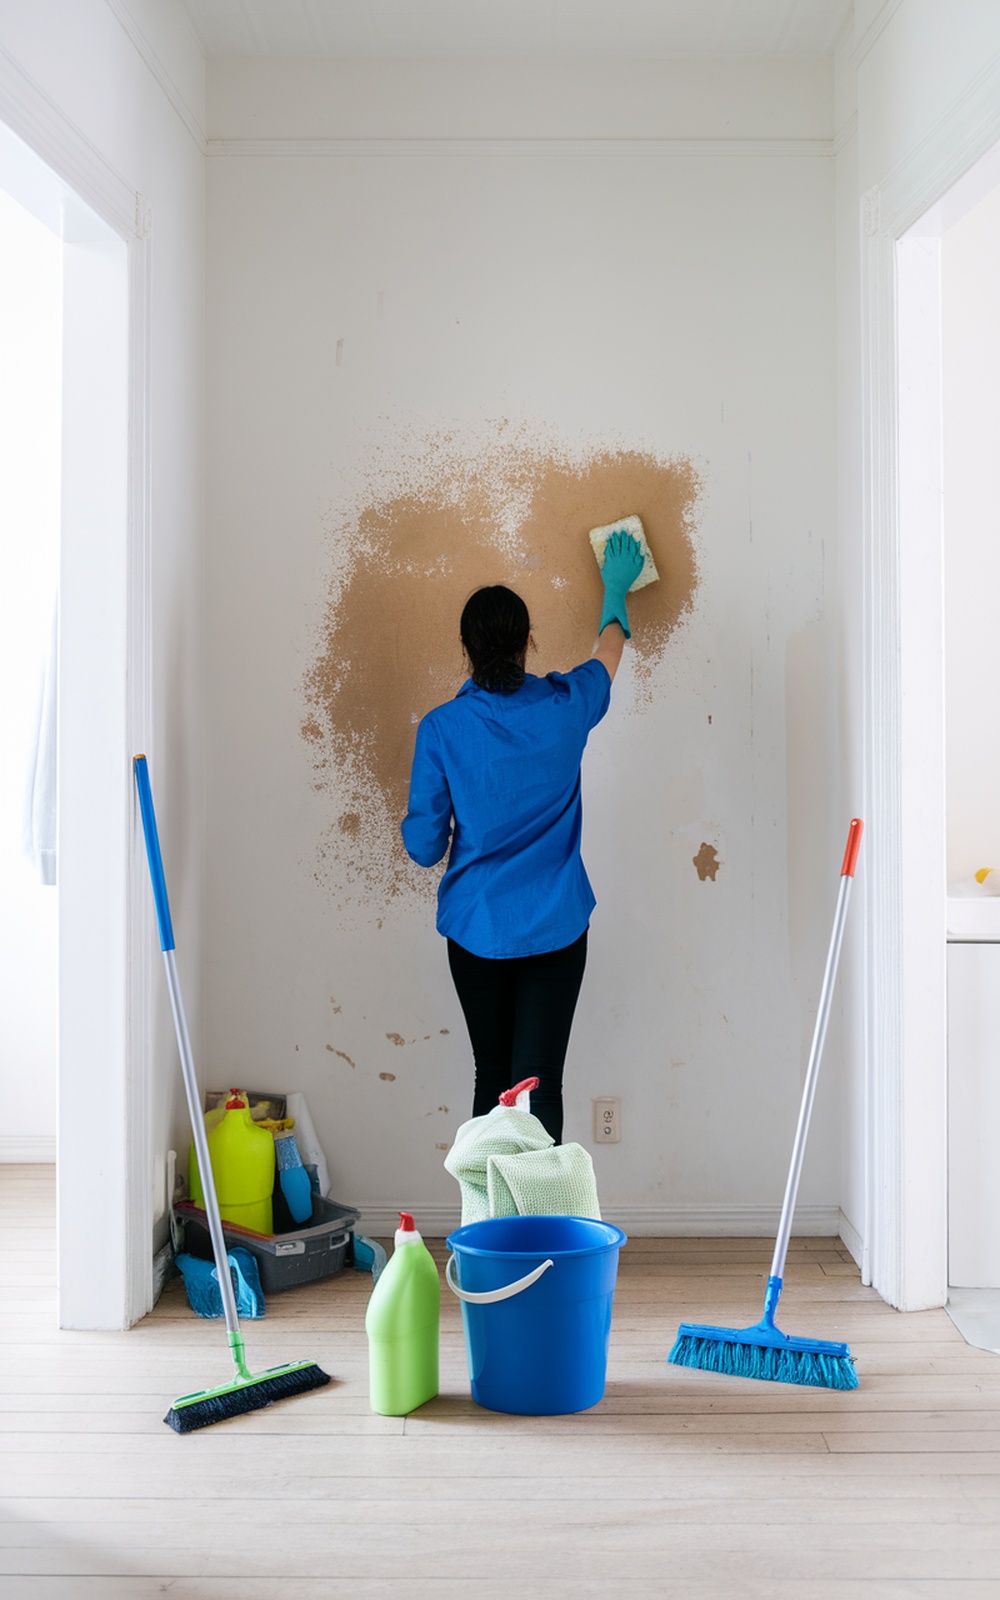
7. Deep Cleaning With Dish Soap: A Surprising Hack

Cleaning walls can feel like a chore, but using dish soap is a game changer. The image shows a person scrubbing a wall with a sponge, wearing blue gloves, and making a noticeable difference. On one side, the wall is dirty, while the other side shines bright after cleaning. This visual highlights how effective dish soap can be for deep cleaning without the need for repainting.
Dish soap is designed to cut through grease and grime, making it perfect for tackling those stubborn stains on your walls. Just mix a few drops of dish soap with warm water in a bucket, and you’re ready to go. Use a soft sponge or cloth to gently scrub the surface, and watch the dirt lift away. This method is not only effective but also safe for most wall finishes.
For best results, start from the top of the wall and work your way down. This prevents dirty water from dripping onto clean areas. Rinse your sponge frequently to avoid spreading dirt around. Once you’ve cleaned the entire area, wipe it down with a clean, damp cloth to remove any soap residue.
After cleaning, it’s a good idea to check for any remaining spots. If you find any, repeat the process on those areas. Keeping your walls clean can make your home feel fresher and brighter. Plus, it’s a simple task that can be done in an afternoon!
To maintain your walls, consider doing a light clean every few months. This will prevent buildup and keep your home looking its best. With this dish soap hack, you can enjoy spotless walls without the hassle of repainting.
8. Utilizing Essential Oils For A Fresh Aroma
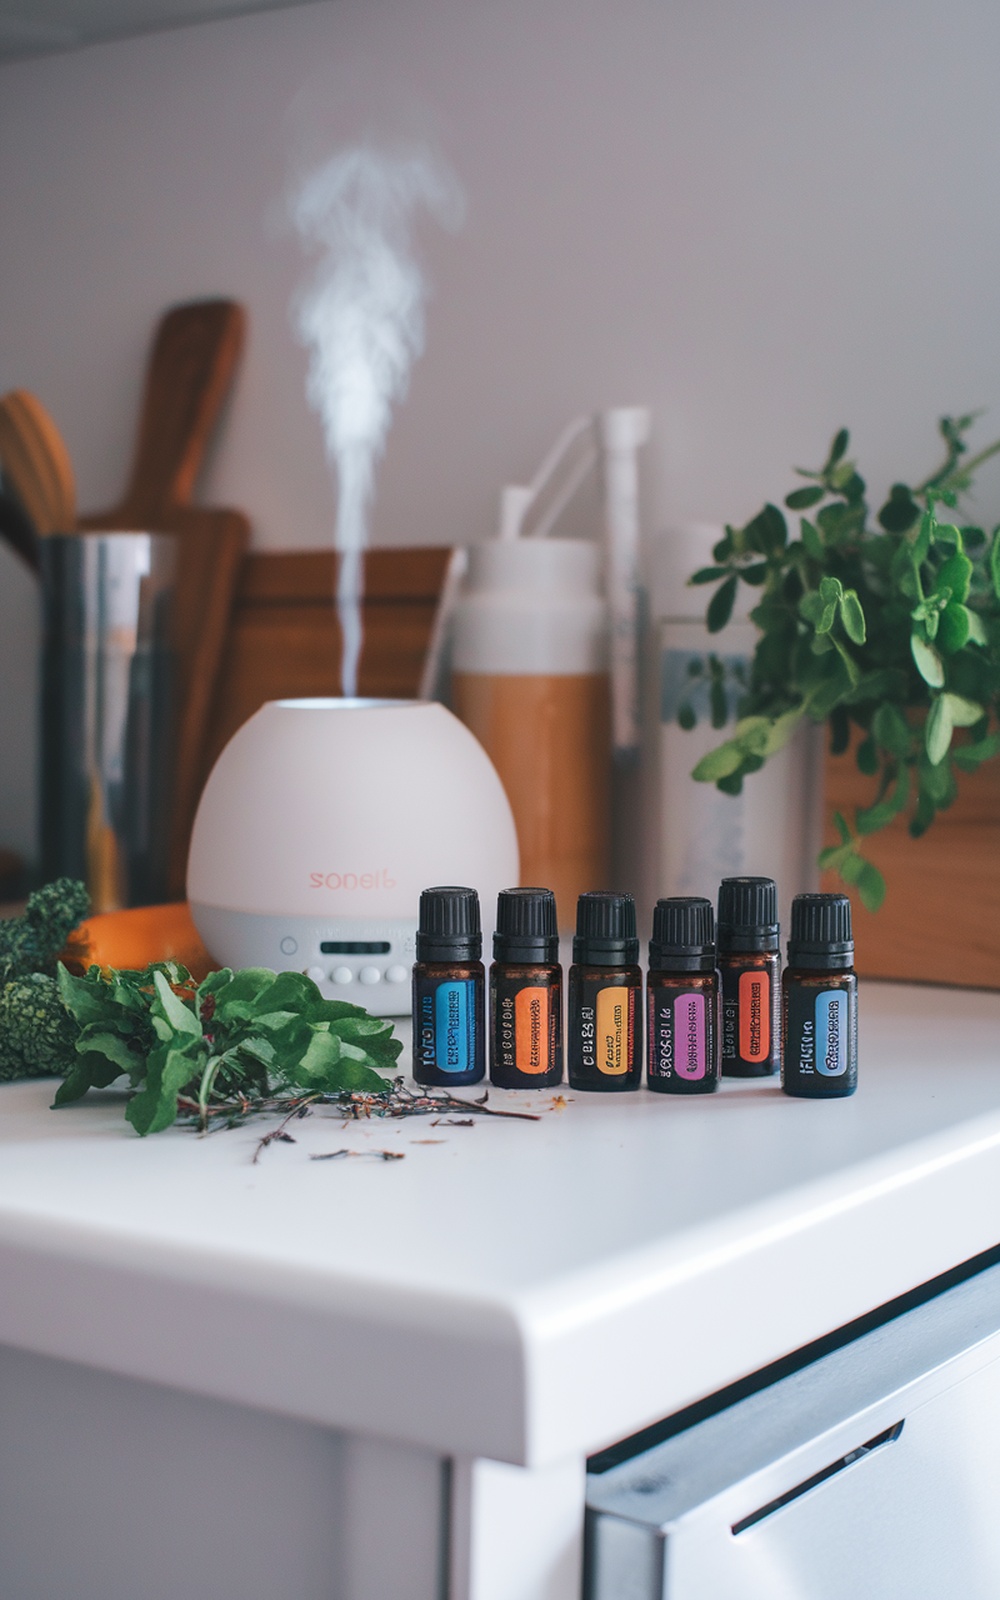
Essential oils can transform your home into a fragrant haven. The image shows a diffuser surrounded by various essential oil bottles, fresh herbs, and a hint of steam rising. This setup not only looks inviting but also serves a practical purpose. Using essential oils can help eliminate odors and create a pleasant atmosphere.
To get started, choose your favorite essential oils. Popular options include lavender for relaxation, lemon for a fresh scent, and eucalyptus for a clean aroma. Mix a few drops with water in your diffuser, and let it work its magic. The gentle mist will fill your space with delightful fragrances.
For an extra touch, consider adding fresh herbs like mint or basil around your diffuser. They not only look great but also enhance the overall scent. Remember to clean your diffuser regularly to keep the aromas fresh and vibrant. A simple rinse with warm water will do the trick.
Essential oils can also be used in cleaning solutions. Just add a few drops to your favorite cleaner for an uplifting scent while you scrub those walls. This way, you’ll enjoy a fresh aroma while tackling dirt and grime. It’s a win-win!
Lastly, don’t forget to experiment with different combinations. Mixing oils can create unique scents tailored to your preferences. Have fun with it and let your creativity shine!
9. Removing Crayon Marks: A Parent’S Guide
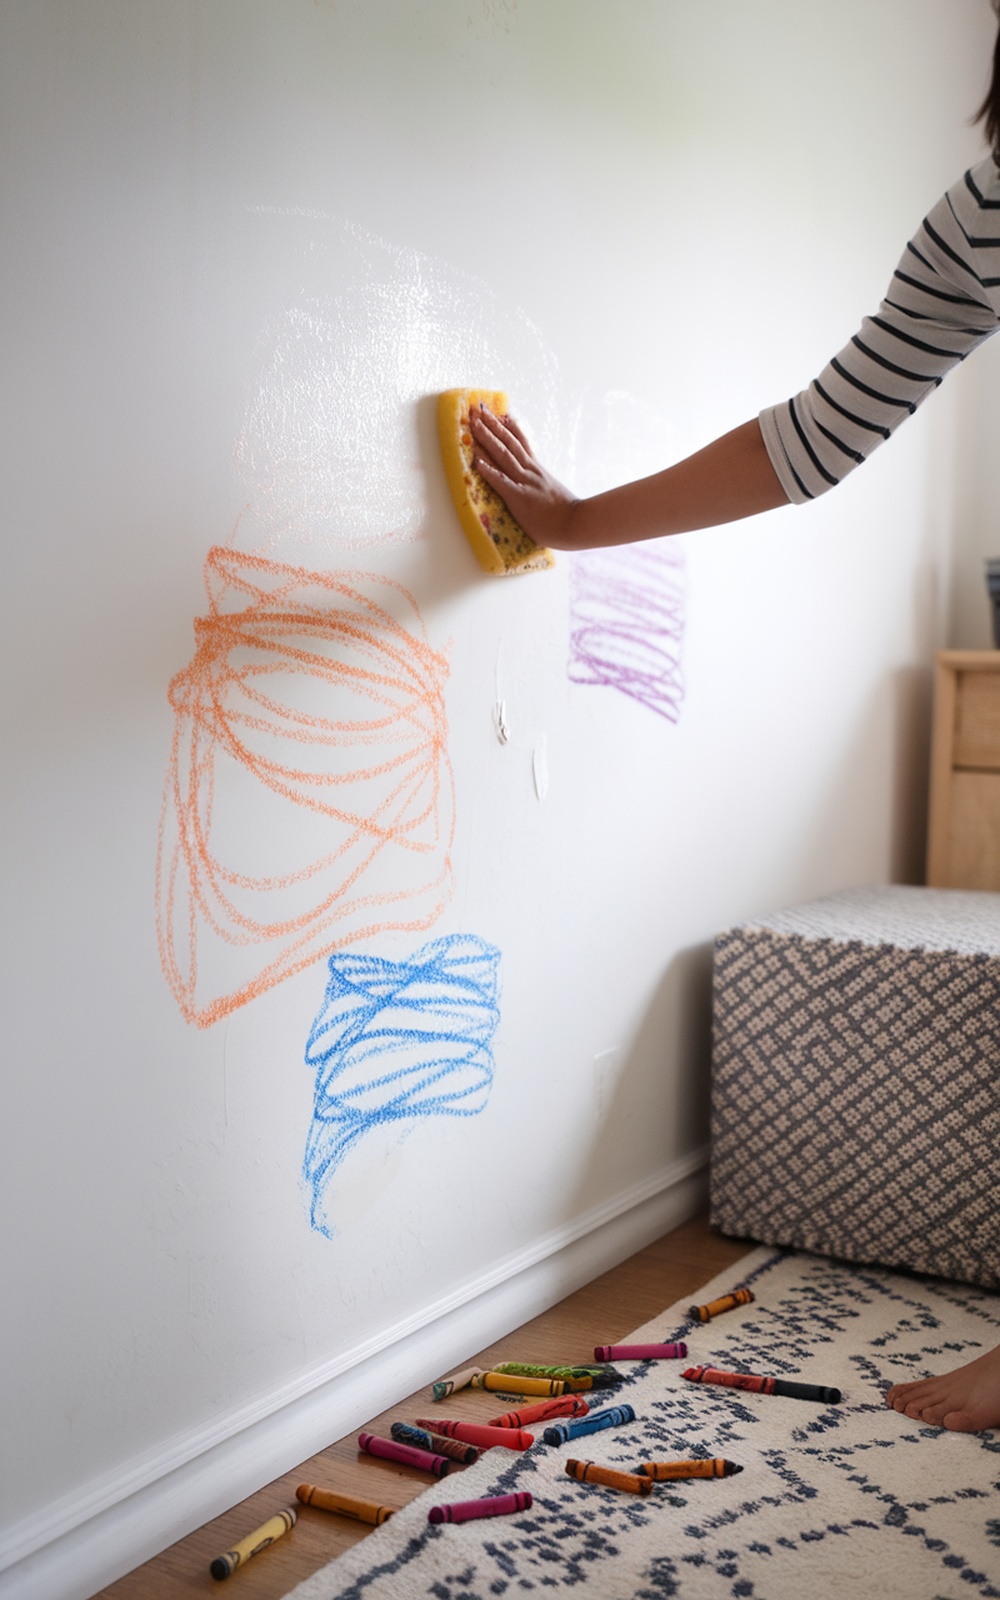
Crayon marks on walls can feel like a nightmare for parents. Kids love to express their creativity, but sometimes that creativity ends up on the walls. The good news is that you don’t have to repaint to fix this. With a few simple hacks, you can restore your walls to their original state.
In the image, we see a person using a sponge to wipe away colorful crayon marks from a wall. The vibrant colors of orange and blue stand out against the white background, showing just how much fun kids can have. The sponge is a handy tool for this task, making it easy to scrub away the marks without damaging the paint underneath.
One effective method is to use a mixture of baking soda and water. Just make a paste, apply it to the crayon marks, and gently scrub with a sponge. This method is gentle yet effective, ensuring your walls stay intact while removing those pesky marks. Another option is to use a magic eraser, which can work wonders on crayon stains.
For tougher marks, a bit of vinegar can help. Mix equal parts vinegar and water, and use a cloth to wipe the area. This natural solution is safe for your home and effective against crayon marks. Remember to test any cleaning solution on a small, hidden area first to ensure it won’t harm your paint.
After cleaning, it’s a good idea to keep some cleaning supplies handy for future incidents. Having a designated spot for crayons and coloring materials can also help minimize messes. Encourage your kids to use coloring books or paper instead of walls. With these tips, you can keep your home looking fresh and clean!
10. Diy All-Purpose Cleaner For Versatile Wall Care
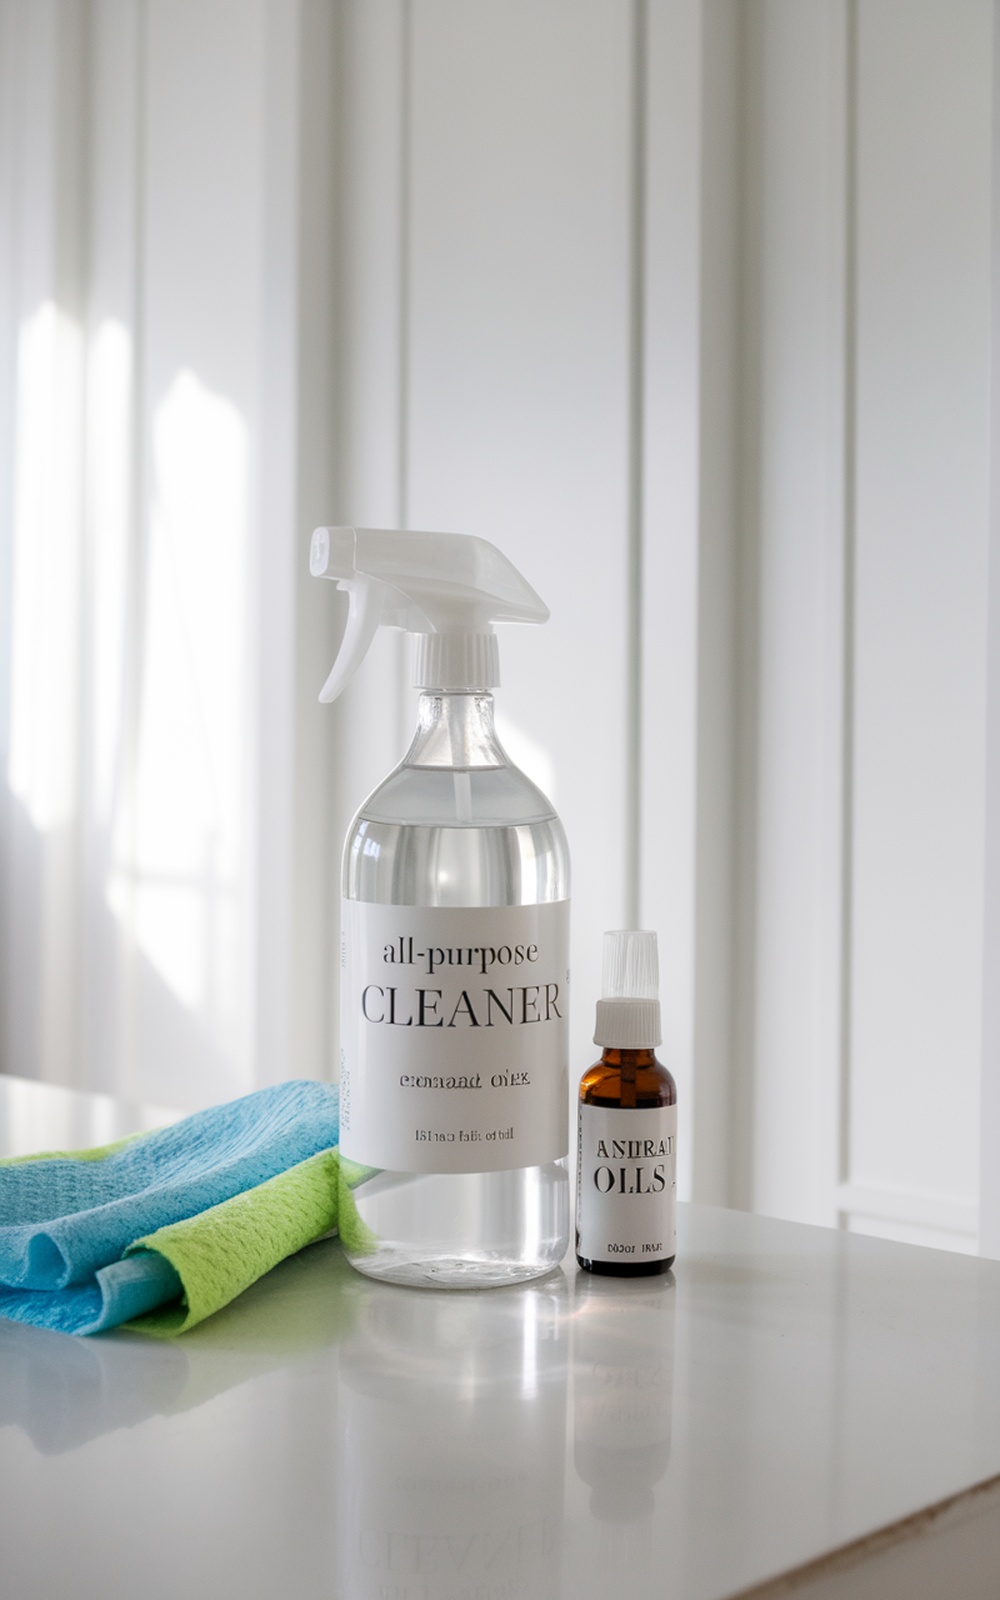
Keeping your walls clean doesn’t have to be a chore. With a simple DIY all-purpose cleaner, you can tackle dirt and grime without the need for repainting. The image shows a sleek spray bottle labeled ‘all-purpose CLEANER’ alongside a bottle of essential oils. This setup is perfect for creating a cleaning solution that not only cleans but also leaves a fresh scent.
To make your own cleaner, you’ll need a few basic ingredients. Start with one cup of water, one cup of white vinegar, and a few drops of your favorite essential oil for fragrance. Combine these in a spray bottle, shake well, and you’re ready to go! The vinegar acts as a natural disinfectant, while the essential oils add a pleasant aroma.
When using your cleaner, spray it directly onto the wall and wipe with a microfiber cloth. This method is gentle enough for most wall finishes and effective against stains. For tougher spots, let the solution sit for a few minutes before wiping. This gives it time to break down the grime.
Regular maintenance is key. Consider cleaning your walls every few months to keep them looking fresh. If you notice any stubborn stains, a little baking soda mixed with water can help scrub them away without damaging the paint.
With this easy DIY cleaner, you’ll not only keep your walls spotless but also enjoy the satisfaction of using a homemade solution. Plus, it’s a great way to avoid harsh chemicals found in many commercial cleaners. Happy cleaning!
11. The Magic Of Hydrogen Peroxide For Stubborn Marks
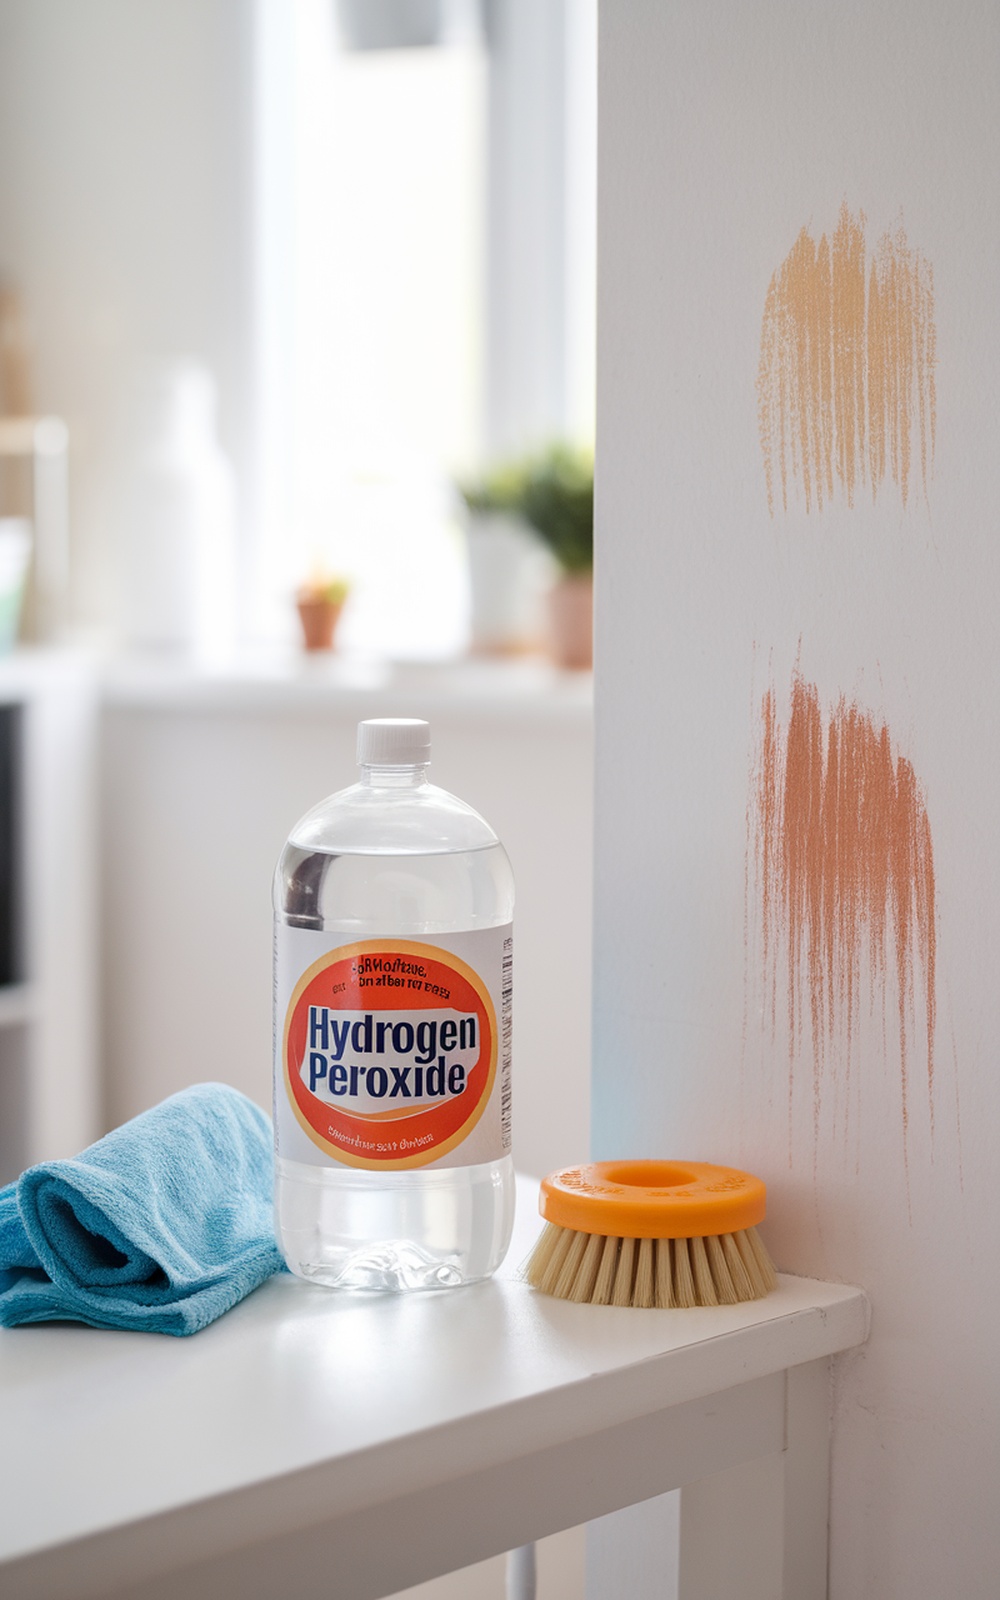
Hydrogen peroxide is a fantastic solution for tackling those stubborn marks on your walls. In the image, you can see a bottle of hydrogen peroxide alongside a scrubbing brush and a cloth, all set up for a cleaning session. The wall shows some unsightly marks, likely from everyday wear and tear. With hydrogen peroxide, you can easily lift these marks without the need for repainting.
To use hydrogen peroxide effectively, start by pouring a small amount onto a clean cloth or directly onto the stain. Gently scrub the area with the brush, applying a bit of pressure as needed. You’ll notice the marks begin to fade almost instantly. This method is safe for most wall paints, but it’s always a good idea to test a small, inconspicuous area first.
Hydrogen peroxide not only cleans but also disinfects, making it a two-in-one solution for your home. It’s a great alternative to harsh chemicals that can damage your walls or harm your health. Plus, it’s inexpensive and easy to find at your local store. Keep a bottle handy for quick touch-ups whenever you notice those pesky stains.
After scrubbing, wipe the area with a clean, damp cloth to remove any residue. This will help ensure that your walls look fresh and clean. Regular maintenance with hydrogen peroxide can keep your walls looking great without the hassle of frequent repainting. Remember to store it in a cool, dark place to maintain its effectiveness.
12. Routine Maintenance: Keeping Walls Clean In The Long Run
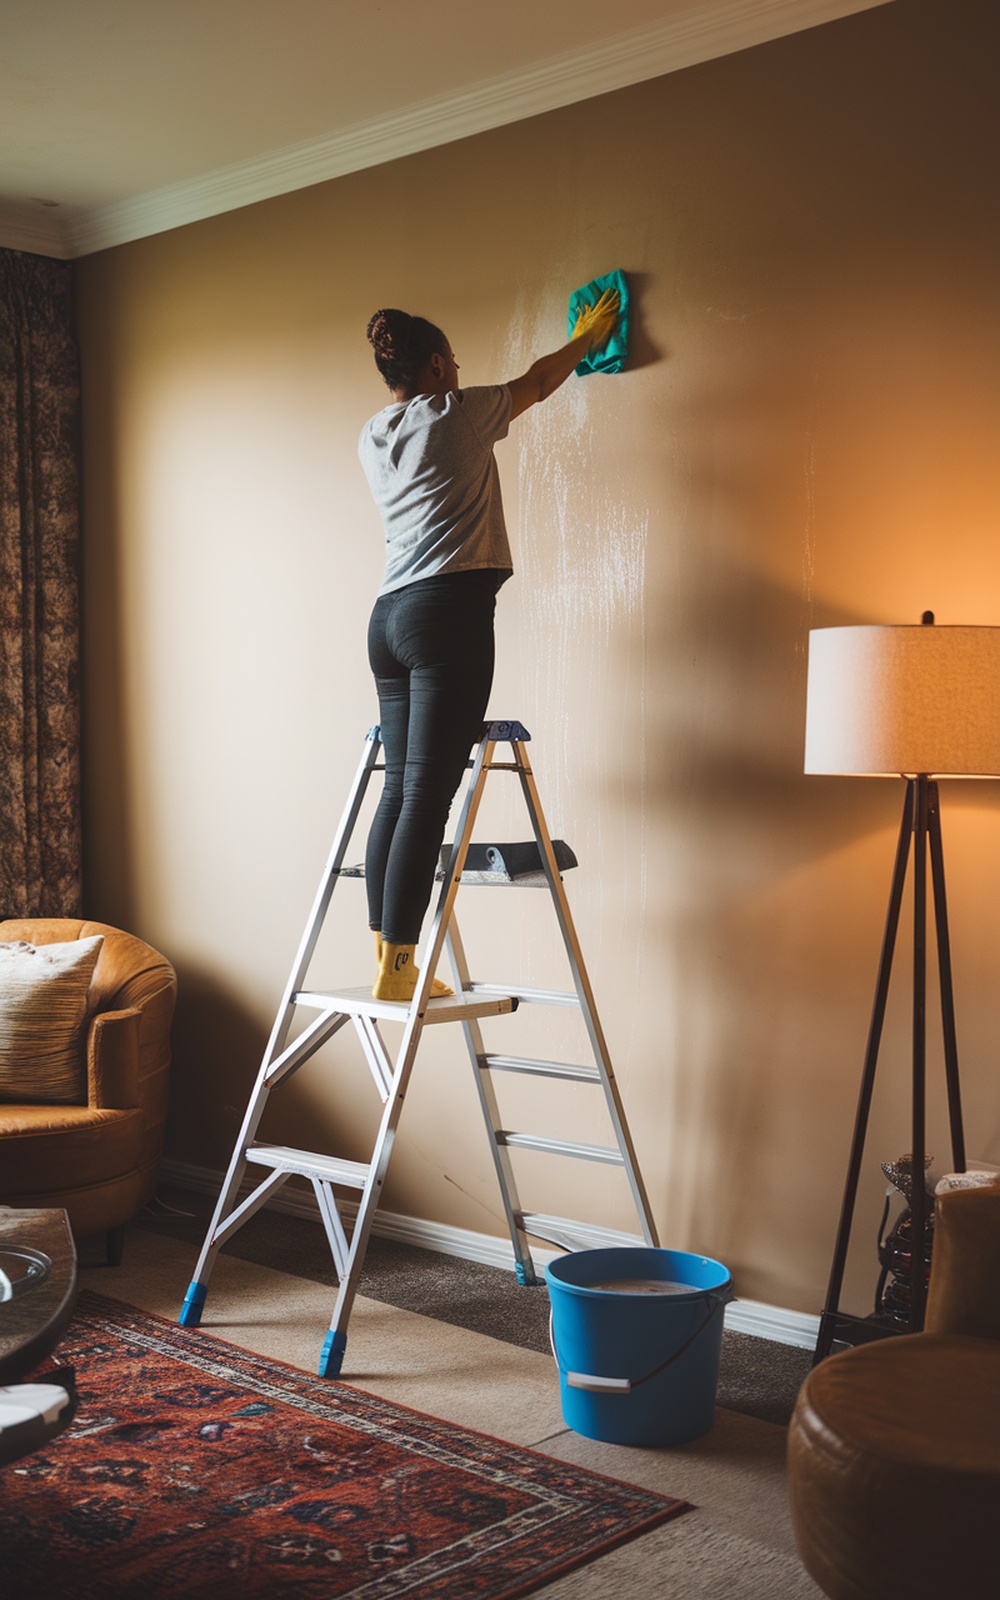
Keeping your walls clean doesn’t have to be a chore that only happens once in a while. Regular maintenance is key to ensuring your walls stay spotless and fresh. In the image, we see someone diligently cleaning a wall, which highlights the importance of routine upkeep. A simple cleaning session can prevent dirt and grime from building up over time.
To maintain your walls, consider setting a cleaning schedule. This could be monthly or quarterly, depending on your home’s needs. Use a gentle cleaner and a soft cloth to wipe down the walls. This method is effective and won’t damage your paint. It’s a good idea to keep a bucket of water and a microfiber cloth handy for quick touch-ups.
Another tip is to pay attention to high-traffic areas. These spots often gather more dirt and fingerprints. Make it a habit to check these areas regularly. A quick wipe can make a big difference. Also, don’t forget to dust your walls. Dust can accumulate and dull the paint, so a quick dusting can keep your walls looking vibrant.
Incorporating these simple tasks into your cleaning routine can save you time and effort in the long run. You’ll be amazed at how a little maintenance can keep your home looking fresh and inviting. Plus, it’s a great way to avoid the hassle of repainting sooner than necessary!